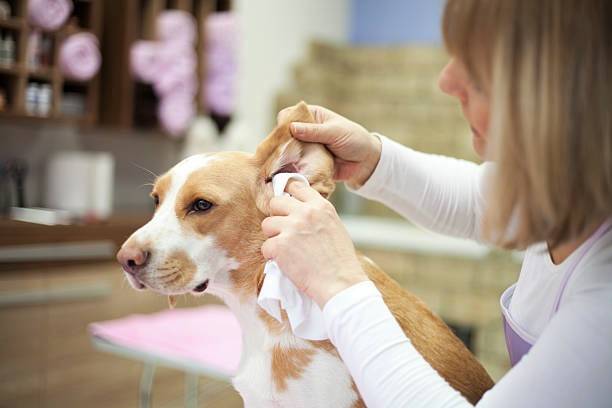
How to Clean Dog’s Ears
by dogtoyadvisor | Last updated on November 18, 2020
This post contains affiliate links, meaning we get a share of the revenue from your purchase with no additional cost to you.
While some breeds are more prone to ear problems than others, all dogs should have their ears cleaned.
Also, there are a lot of things that can cause ear infections, like debris and moisture, not to mention allergies and those pesky parasites that can sometimes populate your dog’s ears.
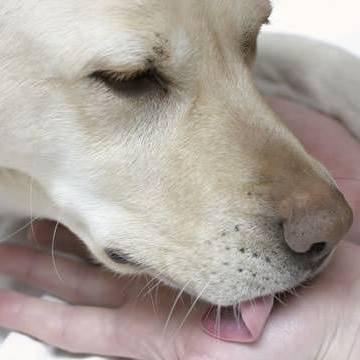
Dogs with drop ears (ears that hang down), like Labradors, Basset Hounds, Cocker Spaniel, etc, are more prone to ear infections than those breeds whose ears stand upright.
Likewise, dogs with hair that grow inside the ear canal (like Poodles and Bichon Frisé) are also more likely to develop ear infections.
This happens because ears that don’t get a lot of air flow tend to trap the aforementioned debris, moisture and parasites inside.
How Often Should You Clean Your Dog’s Ears?
A perfect balance needs to be established between cleaning the ears often enough to keep infection at bay but not too much so you don’t irritate the ears.
This balance depends on the dog.
Your vet will probably help you determine that, or you can try for yourself.
Begin by cleaning your dog’s ears once a month. If you notice his ears getting dirty or that he begins to scratch them after a while, try doing it every other week.
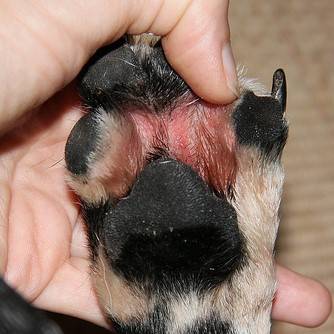
If that isn’t enough, try weekly. If at any time you notice the ears getting red and irritated, then you’ll know it’s too much.
If your dog happens to develop an infection, you’ll need to clean his ears every time you medicate him, because it’s the only way the drops or ointment will be properly absorbed by the skin.
How to Spot An Infection
Even if your dog has never had an infection (yay!), you still want to clean his ears every time you see dirt in them or if they smell funny (foul smell or a bread/yeast smell means infection).
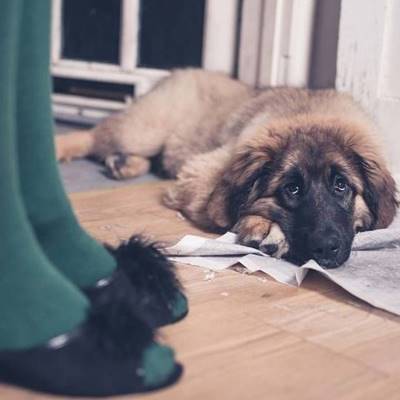
If you notice the ears are red and inflamed, head shaking or scratching of the ears, you need to look for an infection.
Other red flags are ear discharge or pain when you touch your dogs ears.
Without getting that close to your dog, the mere fact that he’s tilting his head or that one ear is floppier than the other may be sign of an infection.
Much like for humans, ear infections are extremely painful for dogs and the longer it goes untreated the worse it will get and the harder and longer it will take to heal.
So, if your dog has an infection that is at a stage that’s causing him any kind of pain, you need to take him to the vet immediately.
How To Clean Your Dog’s Ears At Home
While it may sound daunting, using the right supplies and the right techniques will make cleaning your dog’s ears pretty easy.
Plus, it will save you the trouble (and cost) of going to the vet.
Okay, let’s get started!
Step 1 – Choose the Right Setting
Get your dog somewhere he’s comfortable but also somewhere that will be easy enough to clean.
Personally, we like to do it in the bathroom, ideally after their bath, but even if you’re not giving your dog a bath, the bathroom is a good idea, because he will shake his head and spread the content of his ears (dirt, wax, cleaner, etc) all over.
You can try and put a towel around his head but for us, it doesn’t really work, it’s just something else for them to stress about.
Step 2 – Bring On the Distractions
You’ll want to take your time cleaning your dog’s ears so the last thing you need is having him move around, trying to escape.
So, basically, we bribe our dogs!
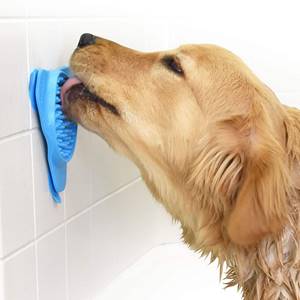
Using this brilliant contraption, we just attach it to the bathroom wall, fill it with peanut butter or canned dog food and get them busy licking while we do what we have to do.
We use this trick for most of our grooming and they haven’t gotten tired of it yet!
Step 3 – Trim The Hair
If your dog is the hairy-eared type, it’s probably a very good idea to trim the hair.
This will not only help to keep his ears healthy but will also help with the cleaning process.
Again, each dog is different. With some dogs, you can carefully pluck the hair from the ears by pulling it with your fingers and they won’t even notice it.
Just remember to do it slowly and in small bits. Still, if you notice the ears are read after it, it’s best to wait one or two days before proceeding with the cleaning.
The other option is to use a hemostats, a blunt-nosed tweezers, to cut the hair.
We use this one.
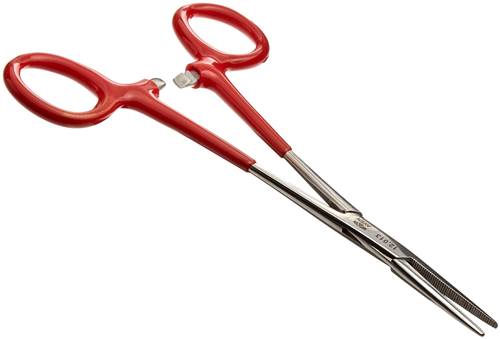
We love that they’re long enough so we don’t have to push it inside the dog’s ears to trim the hair. Plus, they’re easy enough to handle.
Step 4 – Have Your Products Ready
Get the products you’ll need and leave them ready to use.
You can use cotton balls, gaze or wipes to clean the ears. Then you’ll need a dog ear cleaner.
We use different products, depending on the occasion.
If we’re just doing basic maintenance and the dog’s ears are not very dirty, we use these wipes that already have the cleaner on them, so you just need to get them out of the box and use them.
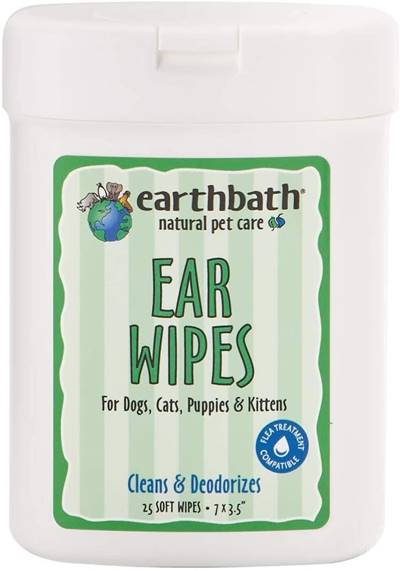
These are biodegradable, made with hazelnut and several plant extracts and, best of all, the scent is amazing, our dogs end up with really fragrant ears!
If the ear dirt is above the ordinary amount (let’s just say our Jack Russells love mud), then you’ll probably want to use a liquid cleaner and clean it off with the gaze or cotton balls.
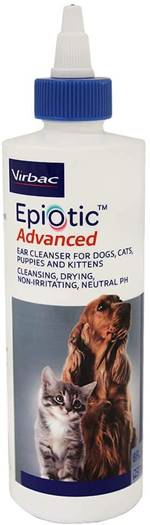
It helps to soften the dirt or wax before you try to remove it, which prevents irritation. Scrubbing a wipe on the skin over and over won’t be as comfortable.
Step 5 – Applying Each Product
If you’re using the wipes, just roll one around your index finger and carefully begin swabbing the ear flap and work your way inside.
Wipe as far down as you can and substitute the wipes as they gather the dirt, otherwise you’ll just be spreading it around.
If you’re using the separate cleaners, you’ll need to squeeze a few drops inside the ear and allow it to drip down into the ear canal.
Then you’ll want to massage the base of the ears and work your way up to make sure the cleaner reaches all the dirt and wax and get it soft and loose.
This is when your dog will most likely shake his head and do a bit of the work for you. The bad news is he’ll splatter all around the room in the process.
After that, just get the cotton ball or gaze and wipe it all up, going as deep as you possibly can,
Step 6 – If Your Dog Is Already Showing Signs of Trouble
If we’re not trying to prevent an infection but rather trying to treat it, like the first stages of a mite infection or we notice a bit of redness, we use this enzymatic solution after finishing the cleaning of the ears.
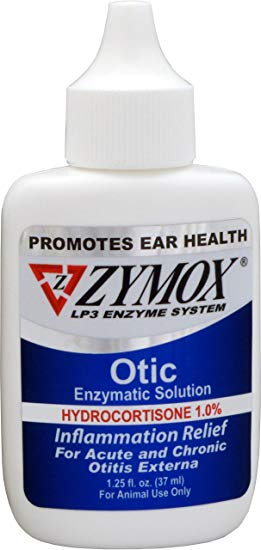
It doesn’t have any antibiotics, of course, but it is extremely effective in treating bacterial, viral and yeast infections and inflammations.
We’ve seen amazing results by using this product but, depending on the stage of the infection or if your dog is showing discomfort, the best thing to do is take him to the vet and get a prescribed medication.
If that’s the case, this is the stage when you’ll apply it to make sure the skin fully absorbs the medicine, like we’ve mentioned before.
Affiliate links / Images from Amazon Product Advertising
Recommending Reading:

0 Comments